So we took a little vacation last week up and down the California coast and we were gone for six days. Apparently, the moment we locked the front door our refrigerator decided to turn itself into an oven, both the refrigerator and freezer I might add. We came home to a dripping, gooey, moldy, horrible, like something out of a Halloween movie mess, with a super fun odor to go with it!
Thankfully, the refrigerator was finally repaired yesterday, it needed a fancy shmancy part, but I lived without it for a week. Why do I tell you this exciting story? Because of this minor inconvenience I was forced to use the kitchen in our guest studio. Yes, we have a little guest studio above our garage with a small but full kitchen. Weve had tenants over the years, but right now the studio is used for storage and is available for out of town family and guests.
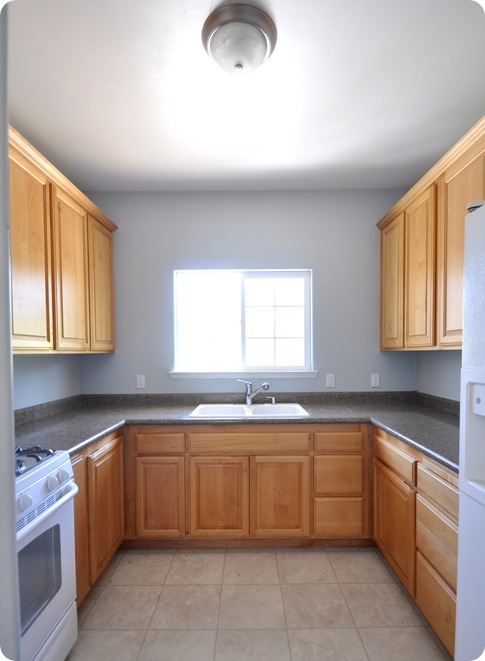
Anyway, prepping and cooking in this kitchen made me realize I was not in love with the color of the cabinetry, so I decided while I was up there, I might as well just refinish them. I also swapped out the light fixture and added a much needed window shade.
Before:
After:
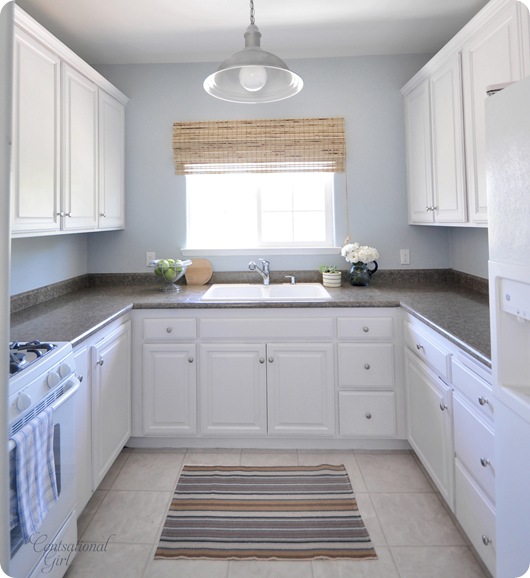
I swear, it feels twice as big inside with the white cabinets!
The cabinetry you see is actually the same cabinetry that used to be in our kitchen years ago. When we added the studio and new kitchen five years ago, we reused the old kitchen cabinets up here which saved us a lot of dough. We even reused the same sink, faucet, and refrigerator that were still in excellent shape from when the house was first built twelve years ago. Funny, this refrigerator has never given me trouble, but the fancy shmancy one in my kitchen? It has needed to be repaired twice now, grrr.
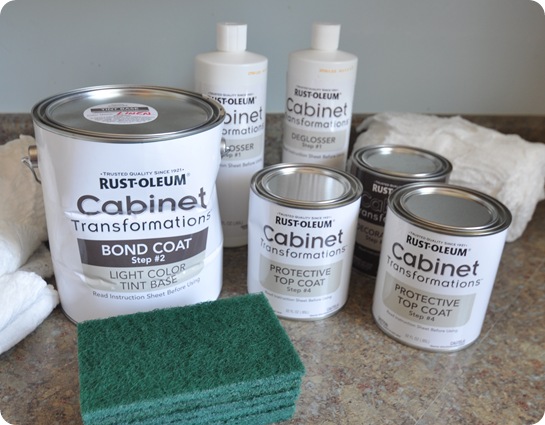
I decided to use the RustOleum Cabinet Transformations Kit that I had a chance to sample last year to see how it would perform on my own cabinets. This 8 x 9 kitchen was the perfect candidate for a quick fix weekend makeover. I chose the color Linen.
I also did something unconventional that Ive never done before, I painted the doors and drawer fronts in place! I didnt bother to remove them like I always have in the past. I just didnt feel like carrying them up and down to my garage in the July heat!
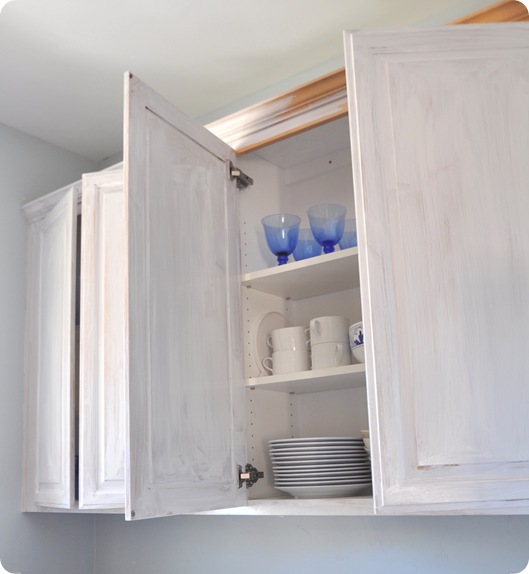
I only got away with it because of the nifty hinges inside the cabinet, I just painted around them with a smaller brush.
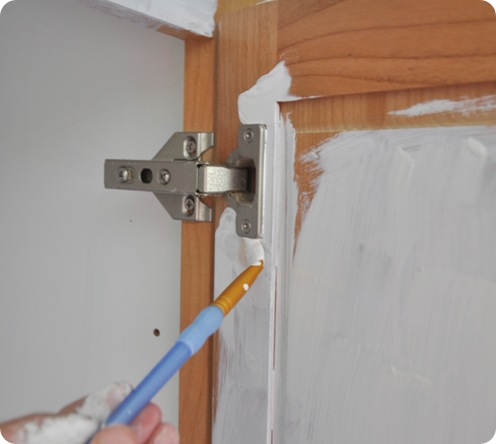
After the deglossing step, I applied the first layer of the bond coat thin enough that I wasnt worried about drips, but thick enough to give good coverage, I was really pleased with it.
The bond coat has the fluidity of paint, but the texture of primer once applied. It does dry quickly like a primer, but I did not experience the same amount of drag or brush strokes that I have with latex paints (to which I typically add a conditioner like Floetrol to minimize the drag and brush strokes).
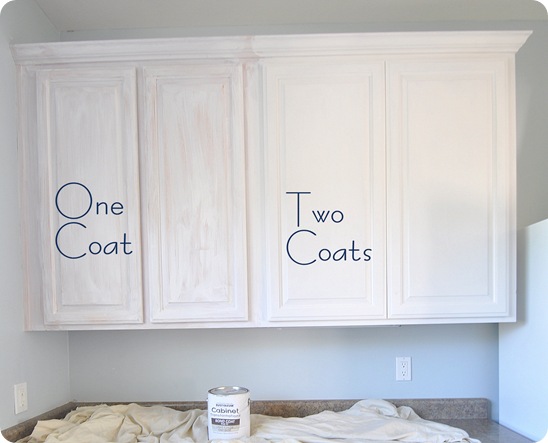
I did notice after two coats there were small brush strokes on the surface, but if youre careful in your application and use a good angled brush (I like the Purdy brand) brush strokes are minimized, and only noticeable when you get up extremely close to the cabinets. I also noticed in some areas, I needed to go back over the cabinets or drawer fronts with a third touch up coat in spots.
The kit also comes with a dark decorative glaze which is optional, but I prefer the clean look without the glaze, so I skipped it. The bond coat dries very flat, which is why youll need to add the UV protective coat at the end for a subtle sheen and to seal the bond coat. I have two entire quarts of this protective coat left, which I know Ill use again and again in the future.
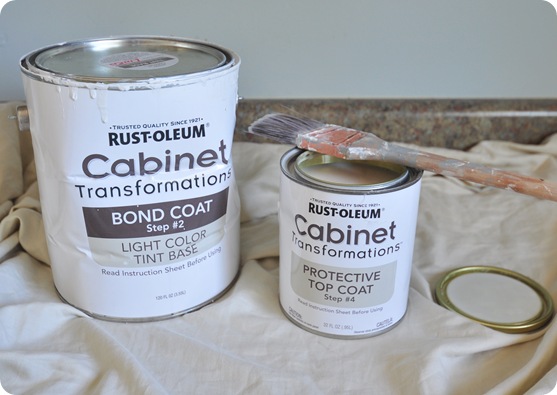
The product is low odor, water based, with very easy to follow instructions. It retails for $79 for the small kit and $149 for the large. Refinishing cabinets the traditional way, Id typically purchase a gallon of primer ($25) a gallon of paint ($30), a paint conditioner ($8), brush and sanding wedge ($20) and a quart of protectant ($12) for a total of $95, so I see this kit (if buying the large) as a small splurge for a kitchen project, however the ease of use, easy cleanup, and time savings makes up for the cost difference since theres no stripping, sanding or priming required. The kits often go on sale at OSH, Home Depot and Lowes.
I still stand by my original review of the kit, and I will use this again. I have 2/3 of a gallon of the bond coat left, enough to redo my hall bathroom and perhaps a piece of furniture or two. I do recommend the kit as a great solution for a quick fix or weekend makeover.
I replaced the light fixture and added a new shade as well. The industrial style fixture was a find from my local ReStore, I picked it up for $12 and gave it a coat of spray paint on top.
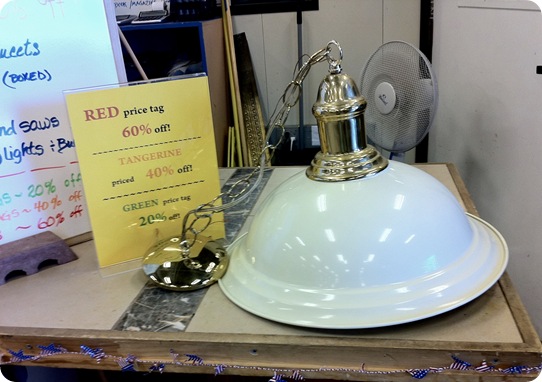
I love the contrast between the matte nickel top and shiny white underside, its perfect!
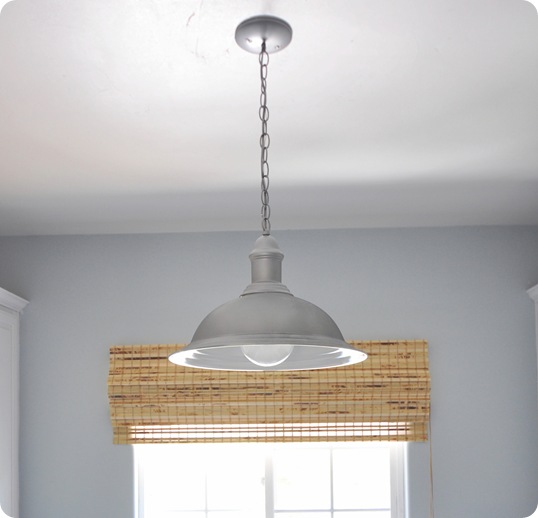
The woven shade is Levolor, cut as an outside mount to a few inches beyond the window. You can find them at Lowes in five different colors, they cut them for you in the store, so easy!
Heres a couple more Before and After shots:
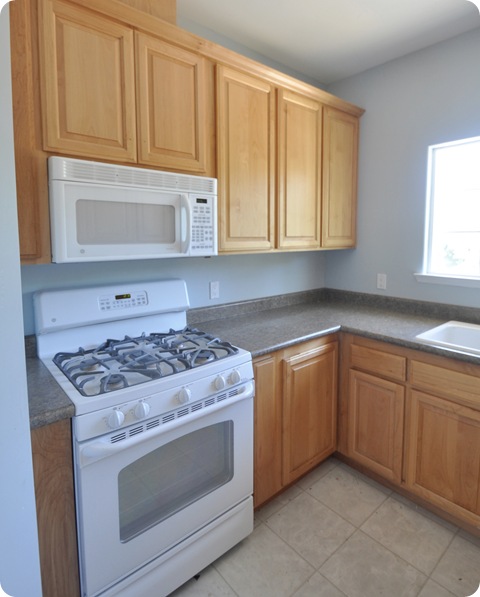
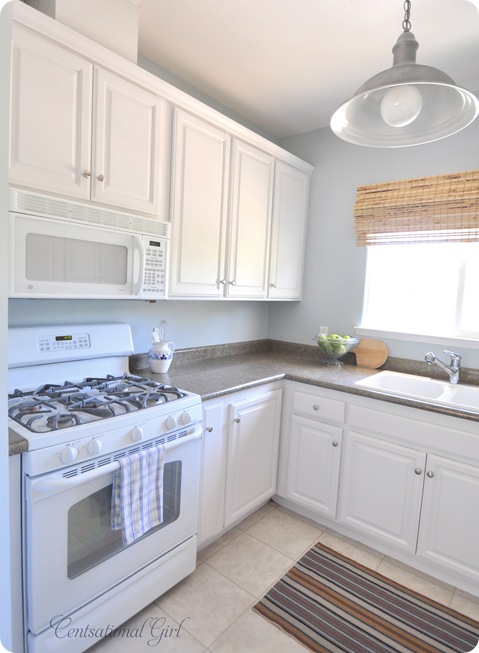
Rug by Dash & Albert.
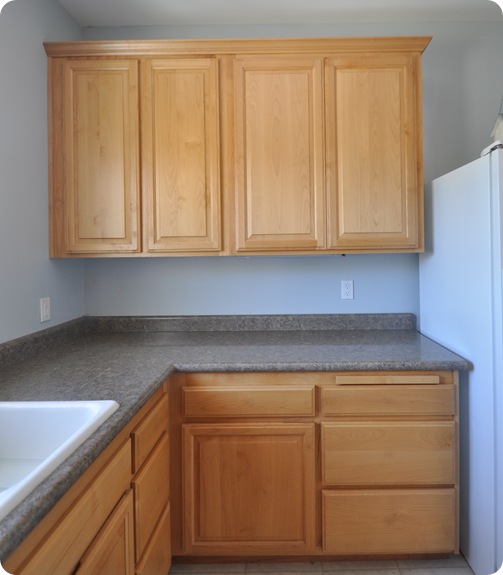
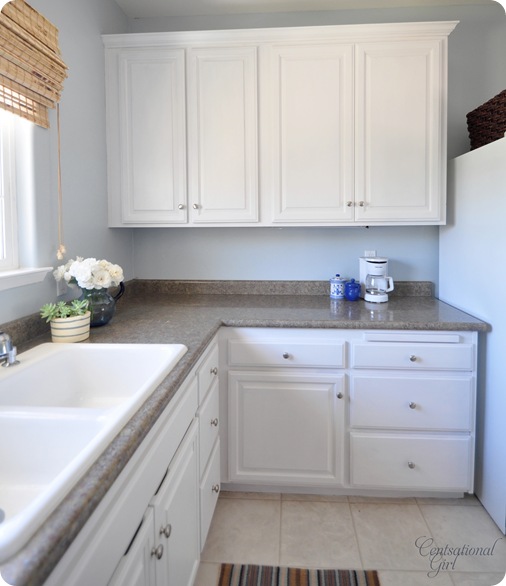
A fantastic result in one weekend!
This post is not sponsored or paid for by Rust-Oleum. It is my honest opinion and evaluation of their Cabinet Transformations Kit based on my personal experience.
.
Tags: cabinet transformations, painting kitchen cabinets, rustoleum
Centsational Girl » Blog Archive Mini Kitchen Makeover ...
Love this! How amazing that you now have 2 very stylish kitchens! If my husband and I ever make it out to California.Id love to book a few nights in your above
Beliebten Nachrichten thlingit.net
Hello everyone, Im so excited to share todays DIY project with you, its all about how to paint a kitchen table. Yall know Ive been painting furniture
Centsational Girl » Blog Archive Mini Kitchen Makeover ...
Posts related to Centsational Girl » Blog Archive Mini Kitchen Makeover Milk Paint Kitchen Cabinets
Centsational Girl Blog Archive Mini Kitchen Makeover ...
Stay updated everywhere, anytime with Paraguay Post. this news about Centsational Girl Blog Archive Mini Kitchen Makeover and read our other update related to
Centsational Girl » Blog Archive Mini Kitchen Makeover ...
Centsational Girl » Blog Archive Mini Kitchen Makeover uploaded by flix at 07 Jun 2014, the extraordinary centsational girl » blog archive mini kitchen makeover
Centsational Girl » Blog Archive Mini Kitchen Makeover ...
DESIGN #7818 Virtual Tool Rust Oleum Cabinet Transformations® A DESIGN #7837 Get Inspired Kitchen Mini Makeover Ideas How To Nest For Less DESIGN #7849 Kitchen
Centsational Girl Blog Archive Mini Kitchen Makeover
If you are looking for top recommended Centsational Girl Blog Archive Mini Kitchen Makeover then this product is actually our recommendation. Many good reviews
Mini Kitchen Makeover - Pinterest
Mini Kitchen Makeover Centsational Girl Centsational Girl » Blog Archive » Mini Kitchen Makeover. Ellen Stelzer Kitchen ideas
Kitchen Makeover Paint Cabinets Kitchen Cabinets
Centsational Girl » Blog Archive » Mini Kitchen Makeover. The Power of Paint: Kitchen Makeover Reveal to me- we have the same countertops and are planning on
Mini Kitchen Makeover
Mini Kitchen Makeover Centsational Girl Centsational Girl » Blog Archive » Mini Kitchen Makeover. Ellen Stelzer Kitchen ideas
ConversionConversion EmoticonEmoticon